Low-cost Home Automation Remote Control using Raspberry PI and X10 devices
X10RP is a free software created by Telefónica Chair of the University of Extremadura and QuercusSEG group from UEX for control and remote management of home automation devices, based on X10 standard, by means of a Raspberry Pi. A web server is running inside the Raspberry PI and it is accessible through mobile devices and PCs. It is based on mochad (GNU General Public License version 3.0), a Linux TCP gateway demon to control X10 devices through the CM15/CM15Pro/CM15A or CM19/CM19A controllers.
X10RP has also a free s oftware license GNU General Public License versión 3.0, so that you can use, copy and modify this software without any problem. Within the software code, there is an internal documentation of the main functions.
X10 devices are characterized by being low cost, their configuration is very simple and it does not require communication wiring, because the commands are sent through the power line of 220v existing in your house.
Requirements
- Raspberry Pi. (It is enough with a RP Type A Single Board Computer 256MB)**
- 4GB SD card.
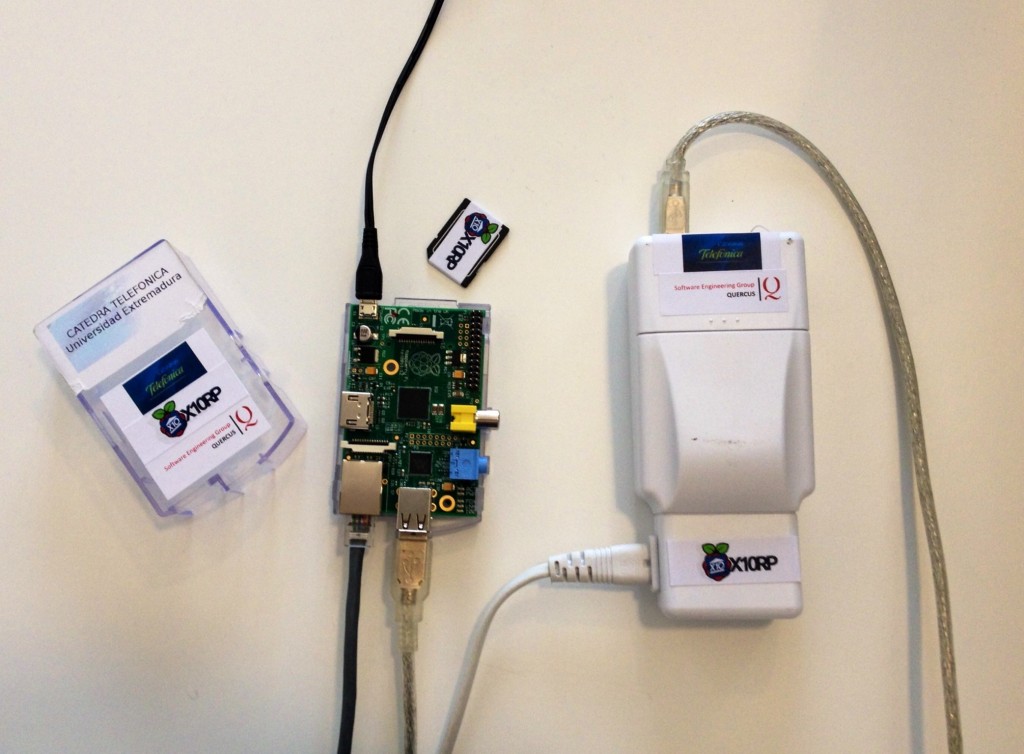
- X10 controller (CM15/CM15Pro or CM19) + the X10 sensors and actuators that you want to install in your house.
**Works on models A and B of Raspberry Pi
Installation
1) Download here the .zip file with the raw image of the SD card that contains X10RP software pre-installed over a Raspbian distribution.
2) To use this file, you will need to unzip it and write it to a suitable SD card.
You can use the UNIX tool dd or Win32DiskImager for Windows. If you are still not clear on what to do, you should check the guide for beginners of RP.
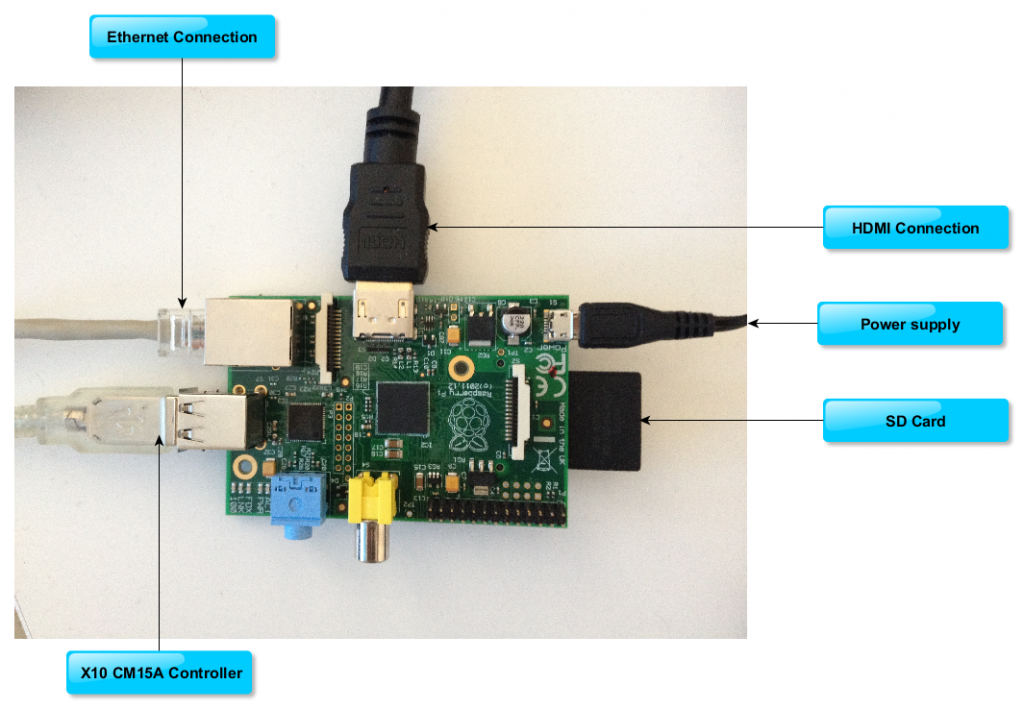
3) Insert the SD card into the RP and connect the cables as shown in the diagram. If you do not want to connect your RP to a monitor you do not need to connect the HDMI cable.
The web server takes 15 minutes to start up and to be operational.
4) Now you can control your domotic installation from any computer, mobile device or smartphone connected to Internet, just by typing the following URL in your web browser:
http://myRaspberryPiIP:8810/X10RP/index.jsp.
You can get the IP of your RP by typing the “ifconfig” command into the LXTerminal console of your RP desktop. If you want to gain access from outside the local network of your house, you must open the corresponding port of your router, and use the IP of your router instead of the IP of your RP.
Getting Started with X10RP Software
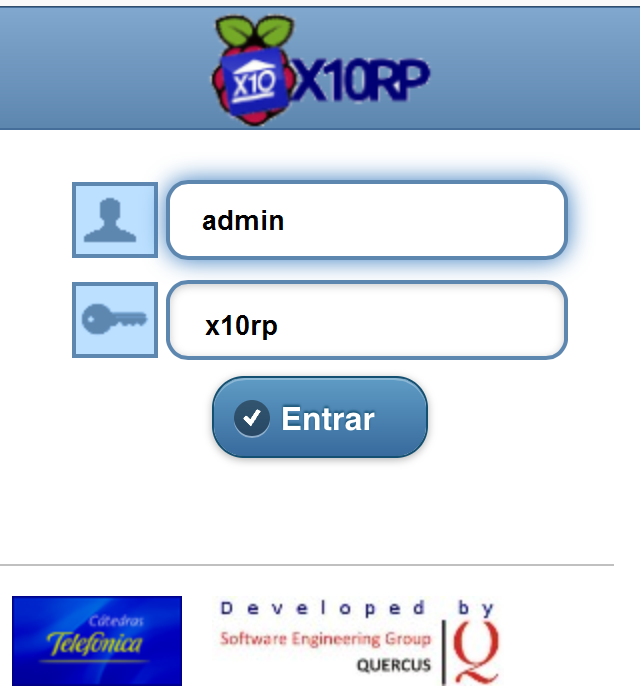
Once you enter the URL in your web browser you must log in with username admin and password x10rp. It is recommended to change your password the first time you enter the system.
Adding home automation devices
Set up the the house code and unit code of each device you want to install, and register them into the system, indicating whether it is a sensor, an actuator or a dimmer.
Controlling your home automation devices
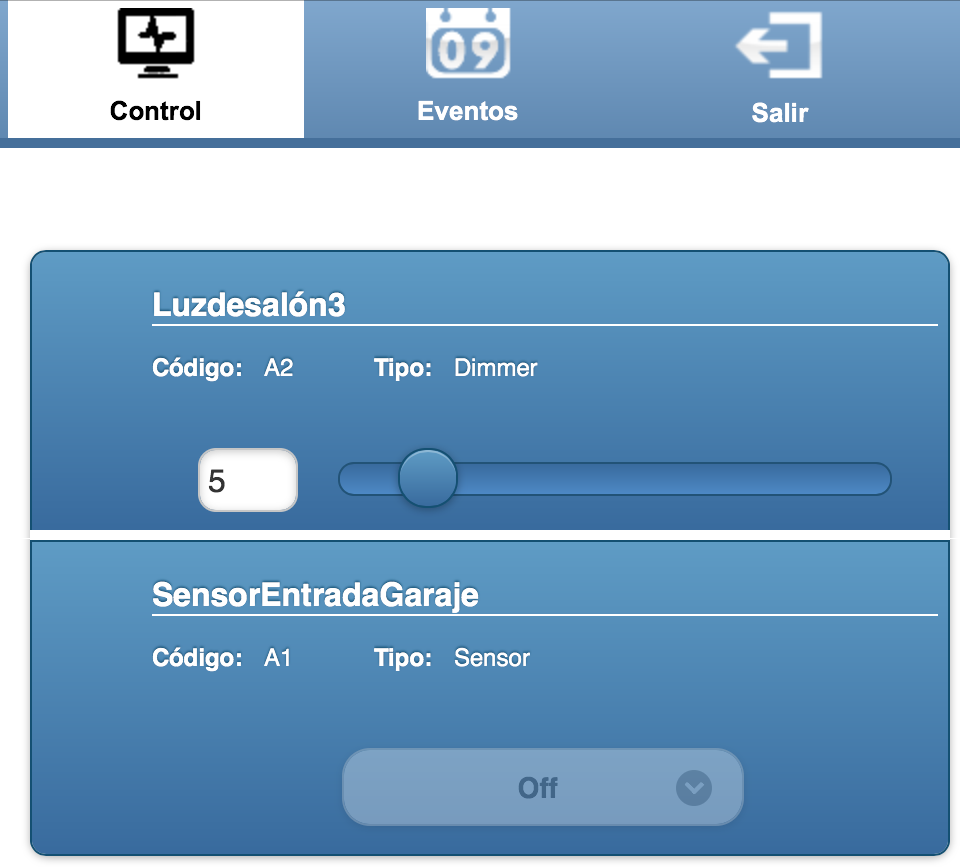
Thanks to X10RP, now we can easily check the state of the sensors we have added to the system and switch on/off the actuators or dimmers.
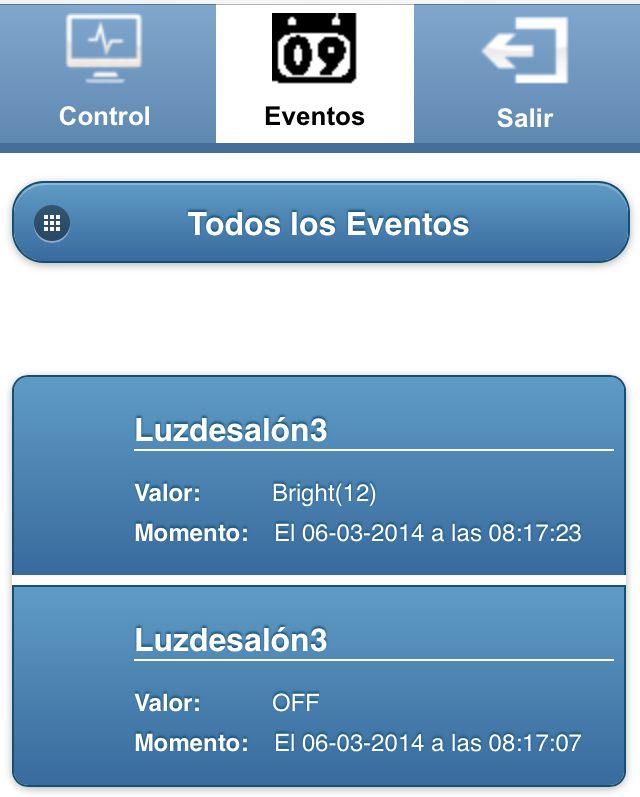
Visualizing the registered events
We can check the values of the events and actions that are happening in our installation, sorted by time or by device.
The source code of X10RP software with the license GNU General Public License version 3.0 can be downloaded here.
We hope you will find it useful. Please, send us your opinions and suggestions for improvement via twitter to @CatedraTEF_UEX #X10RP.
